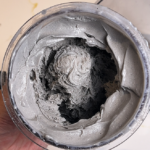
Low-Sugar Sesame Ice Cream Recipe (Ninja Creami)
If you love black sesame, this low-sugar sesame ice cream is an easy way to enjoy it in a lighter dessert!
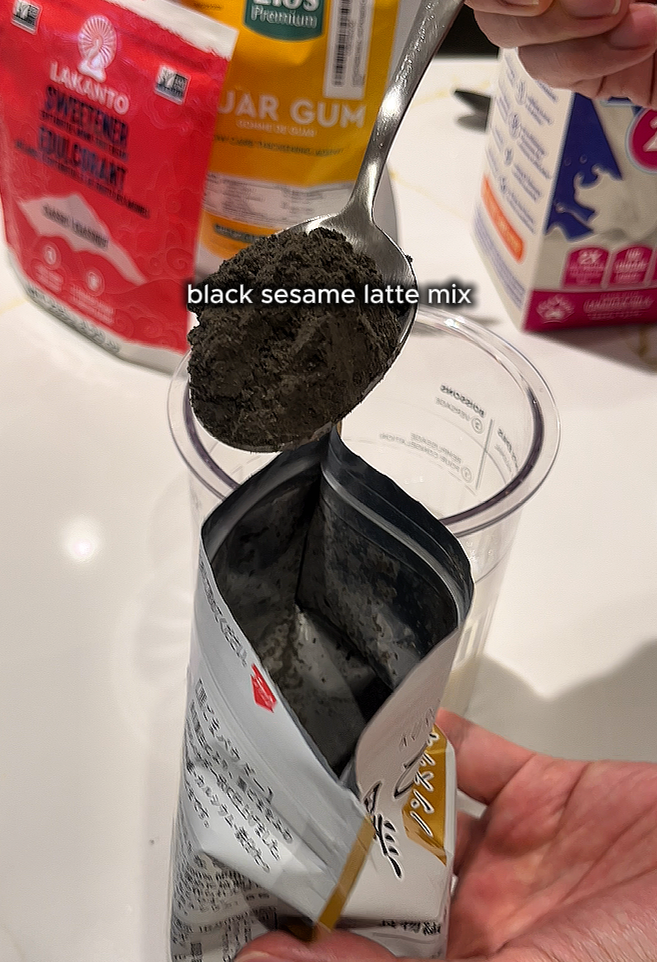
Made with milk, sesame latte mix, monk fruit sweetener, and a few simple ingredients, this Ninja Creami sesame ice cream is creamy, flavorful, and surprisingly easy to make.
You don’t need a complicated ice cream base or a long list of ingredients. Everything gets blended together, frozen overnight, and processed in the Ninja Creami the next day.
I like adding a few crunchy toppings at the end and Oreo pieces are especially good! too.
Heads up: This post contains affiliate links. That means I may earn a small commission if you buy through them — at no extra cost to you. Thanks for supporting Drew Eats!
Why You'll Love This Sesame Ice Cream
Low sugar:
- Monk fruit sweetener keeps the added sugar low while still giving the ice cream plenty of sweetness.
Lighter dessert:
Using lower-fat milk keeps the calories lower than traditional ice cream.
Big sesame flavor:
Sesame latte mix gives the ice cream a nutty, roasted sesame flavor without needing to make a complicated sesame paste. Different brands can have varying levels of sweetness, so do a quick taste test and adjust as needed.
Customizable:
- Add cookies, chocolate, nuts, or other toppings for extra texture! I find this to be the perfect level of sweetness, but feel free to add more monk fruit sweetener to sweeten it up.

Tips for Creamy Ninja Creami Ice Cream
Use lower-fat milk for a lighter dessert
- I usually use 2% milk or lower to keep the calories down. You can experiment with different types of milk depending on how rich you want the final texture to be.
- Keep in mind that lower-fat bases naturally contain less fat, so they can freeze harder and require a little more processing.
Blend the guar gum thoroughly
- Guar gum can clump if it’s not incorporated properly.
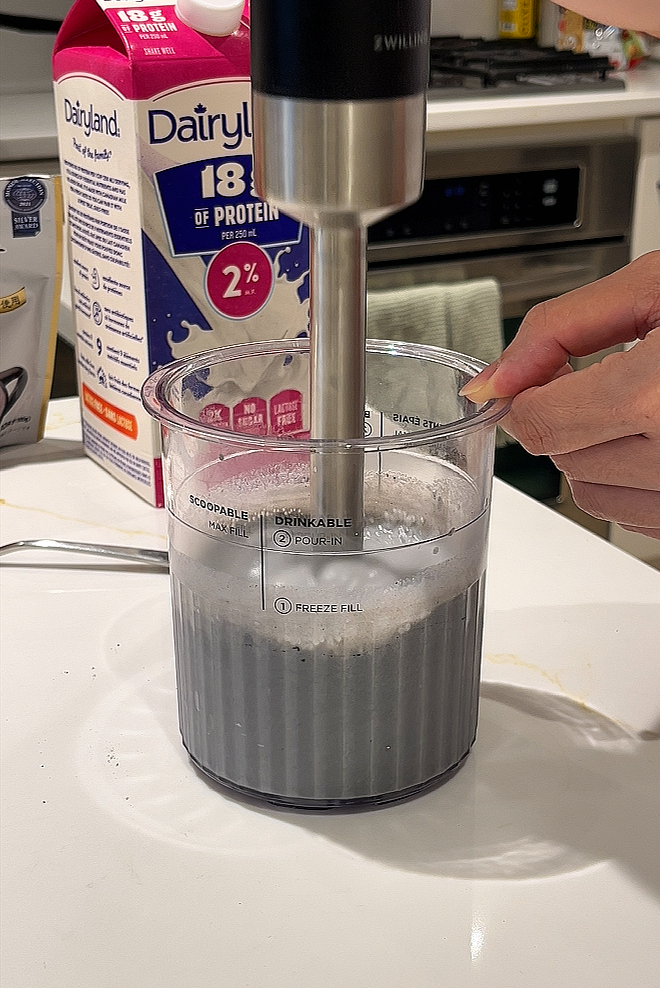
- Using a hand blender makes it much easier to distribute the guar gum evenly throughout the base.
Don’t skip the hot-water step
- Running the outside of the frozen container under hot water for about 30 seconds helps loosen the frozen mixture around the edges before processing.
- This is especially helpful when working with a lower-fat base that freezes quite hard.
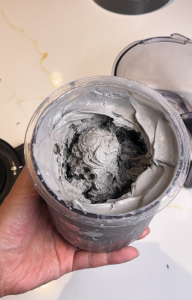
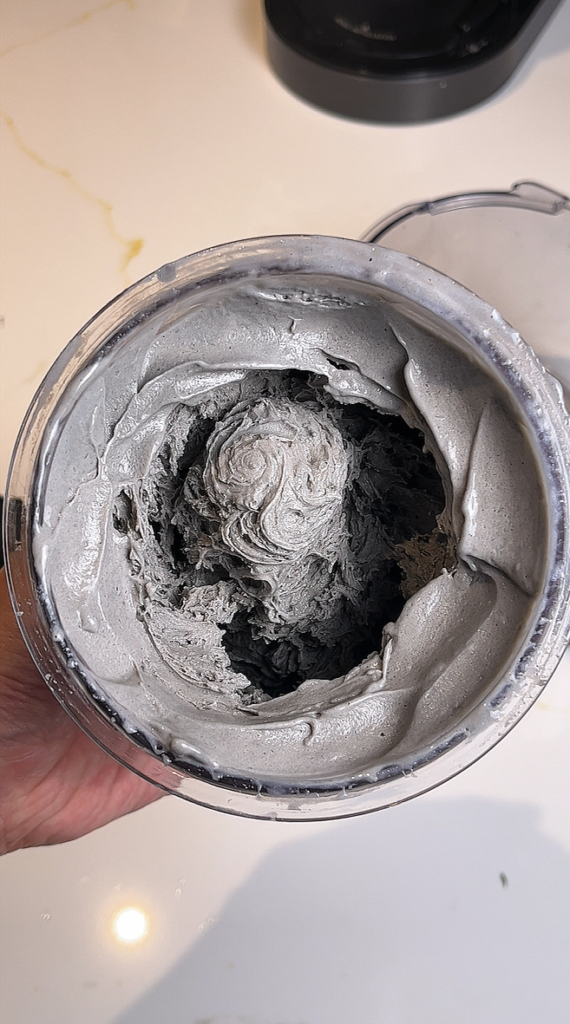
Don’t worry if the first spin looks icy
- One of the benefits of the Ninja Creami is that you can process the mixture again.
- If the first cycle leaves you with a crumbly or icy texture, loosen the sides, fold everything back toward the center, and use the Respin cycle.
- The second spin makes a big difference.

Why I Use the Ninja Creami Deluxe
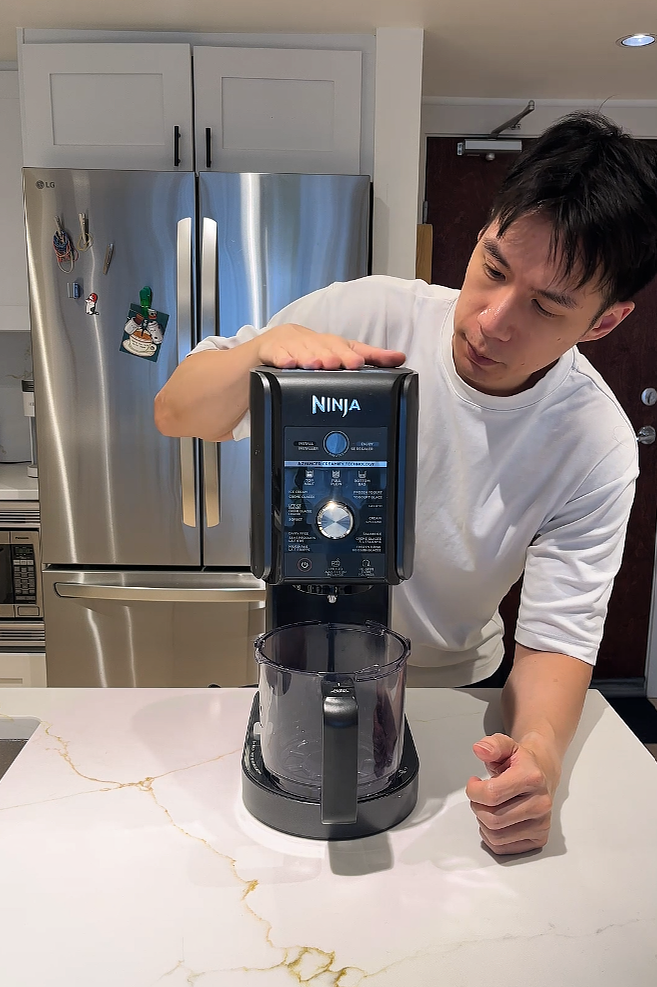
I make this sesame ice cream using the Ninja Creami Deluxe, which has become one of my favorite kitchen appliances for experimenting with homemade frozen desserts.
If you’re deciding between the regular Ninja Creami and the Deluxe, the main difference is the size and versatility of the container. The Creami Deluxe uses larger 24 oz containers compared with the 16 oz containers used with the original Creami, which gives you more ice cream per batch (meaning you can eat more in one sitting!).
The Deluxe also has additional processing functions and settings designed for a wider variety of frozen treats, including options for frozen drinks and larger batches.
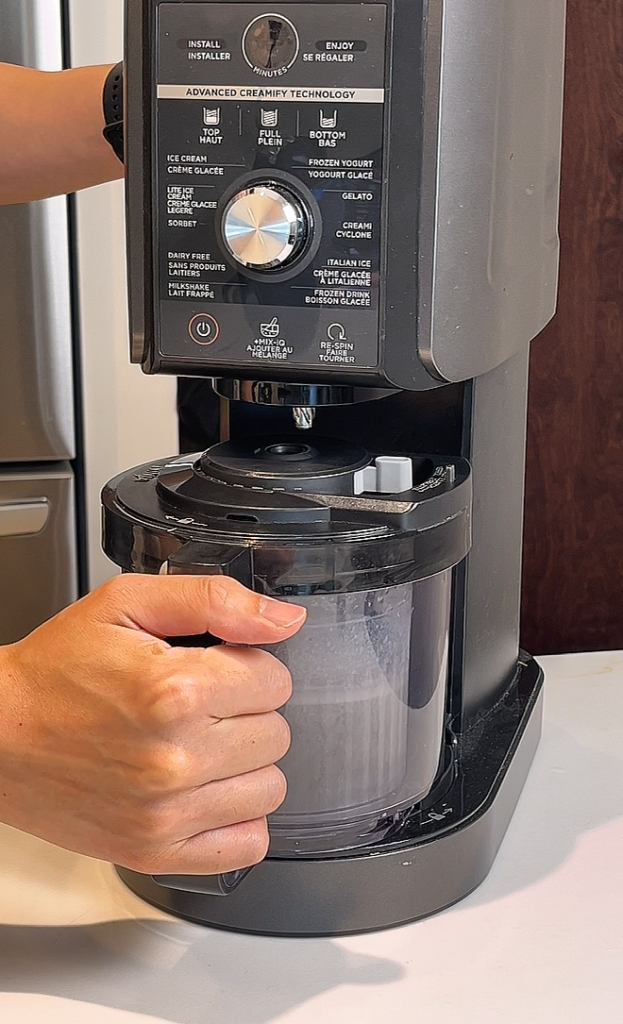
For this recipe, I use the Lite Ice Cream setting, followed by a Respin if the first cycle leaves the ice cream a little icy or crumbly.
I especially like the Creami for lighter ice cream recipes because you can start with a relatively simple, low-fat base and process it into a texture that’s much closer to traditional ice cream. It’s also easy to experiment with different flavors, sweeteners, mix-ins, and toppings without having to make an entire complicated ice cream base from scratch.
If you’re someone who likes experimenting with homemade ice cream, the Ninja Creami is a fun appliance to have in the kitchen! The Deluxe is particularly useful if you want larger portions and more versatility.
Sesame Ice Cream Topping Ideas
Once you have the sesame ice cream base, there are plenty of ways to customize it!
Try adding:
- Crushed Oreos (remove the cream fillings to further lower the calories)
- Black sesame seeds
- White chocolate chips
- Chocolate cookie pieces
- Toasted almonds
- Mochi pieces
- Chocolate sauce
- A drizzle of tahini
- Matcha powder
One of my favorite combinations is sesame ice cream with crushed Oreo pieces. The crunchy chocolate cookies pair surprisingly well with the sesame flavor, yum!
Frequently Asked Questions
Can I make this sesame ice cream without a Ninja Creami?
This recipe was specifically developed for the Ninja Creami, which makes it possible to create a creamy frozen dessert from a relatively simple, low-fat base.
Traditional ice cream makers may require a different formulation to achieve the same texture.
Can I use skim milk?
Yes. Skim milk can be used if you want to keep the calories even lower. However, because there is less fat in the base, the finished ice cream may freeze harder and require an additional spin.
Why is my Ninja Creami ice cream icy?
Lower-fat ice cream bases tend to freeze harder because they contain less fat. Make sure the base is blended thoroughly, run the outside of the container under hot water before processing, and use the Respin cycle if necessary.
What does guar gum do in ice cream?
Guar gum acts as a stabilizer and helps improve the texture of frozen desserts. In this recipe, a small amount helps create a smoother, creamier consistency.
Ingredients
For the Sesame Ice Cream
1 ½ cups milk, preferably 2% or lower
1 ½ tbsp sesame latte mix
3 tbsp monk fruit sweetener
¼ tsp guar gum
½ tbsp cream cheese
Small pinch of salt
Optional Toppings
Oreo pieces
Black sesame seeds
Crushed cookies
Chocolate chips
Step by step instructions
1. Make the Ice Cream Base
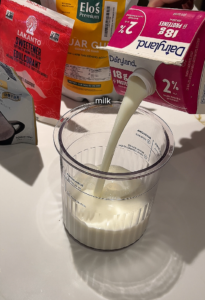
Add the milk, sesame latte mix, monk fruit sweetener, guar gum, cream cheese, and salt to the ninja Creami container.
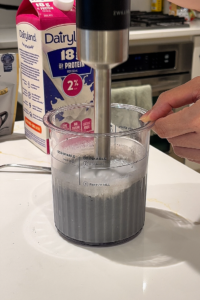
Using a hand blender, blend everything together until the mixture is completely uniform and there are no visible clumps.
The guar gum is important here because it helps give the finished ice cream a smoother, creamier texture.
2. Freeze the Mixture
Place the container in the freezer and freeze for at least 8 hours, or preferably overnight.
Make sure the container is sitting level in the freezer so the mixture freezes evenly.
3. Warm the Outside of the Container
The next day, remove the frozen base from the freezer.
Before processing it in the Ninja Creami, run the outside of the container, especially the sides, under hot water for about 30 seconds.
This helps loosen the frozen mixture around the edges and can help prevent excessive icing around the outside of the pint during processing.
Don’t skip this step if your frozen base tends to develop a hard layer around the edges.
4. Process the Ice Cream
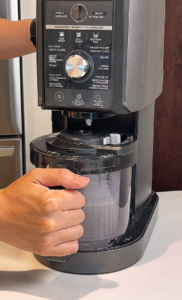
Place the container into your Ninja Creami and run the Lite Ice Cream setting.
Process for one full cycle, about 4 minutes.
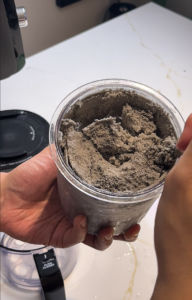
After the first spin, the mixture may still look a little crumbly or icy. That’s completely normal, especially with a lower-fat ice cream base.
5. Break Up the Sides and Respin
Use a butter knife to carefully loosen the ice cream around the sides of the container.
Fold the icy pieces back toward the center.
Then run the container through the Respin cycle for about 2 minutes.
After the second spin, the mixture should be noticeably smoother and creamier.
6. Add Your Toppings
Once the ice cream is creamy, add your favorite toppings.
For a cookies-and-cream version, add crushed Oreo pieces and use the Ninja Creami’s appropriate mix-in setting to incorporate them.
You can also keep it simple with a sprinkle of black sesame seeds or enjoy the sesame ice cream completely on its own.
Low-Sugar Sesame Ice Cream Recipe (Ninja Creami)
Ingredients
For the Sesame Ice Cream
- 1 ½ cups milk preferably 2% or lower
- 1 ½ tbsp sesame latte mix
- 3 tbsp monk fruit sweetener
- ¼ tsp guar gum
- ½ tbsp cream cheese
- Small pinch of salt
Optional Toppings
- Oreo pieces
- Black sesame seeds
- Crushed cookies
- Chocolate chips
- Toasted nuts
Instructions
Make the Ice Cream Base
- Add the milk, sesame latte mix, monk fruit sweetener, guar gum, cream cheese, and salt to the ninja Creami container.

- Using a hand blender, blend everything together until the mixture is completely uniform and there are no visible clumps.

- The guar gum is important here because it helps give the finished ice cream a smoother, creamier texture.
Freeze the Mixture
- Place the container in the freezer and freeze for at least 8 hours, or preferably overnight.
- Make sure the container is sitting level in the freezer so the mixture freezes evenly.
Warm the Outside of the Container
- The next day, remove the frozen base from the freezer.
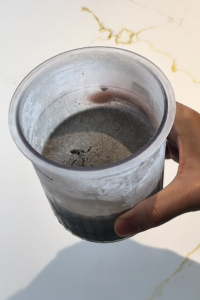
- Before processing it in the Ninja Creami, run the outside of the container, especially the sides, under hot water for about 30 seconds.
- This helps loosen the frozen mixture around the edges and can help prevent excessive icing around the outside of the pint during processing.
- Don't skip this step if your frozen base tends to develop a hard layer around the edges.
Process the Ice Cream
- Place the container into your Ninja Creami and run the Lite Ice Cream setting.
- Process for one full cycle, about 4 minutes.
- After the first spin, the mixture may still look a little crumbly or icy. That's completely normal, especially with a lower-fat ice cream base.
Break Up the Sides and Respin
- Use a butter knife to carefully loosen the ice cream around the sides of the container.
- Fold the icy pieces back toward the center.
- Then run the container through the Respin cycle for about 2 minutes.
- After the second spin, the mixture should be noticeably smoother and creamier.
Add Your Toppings
- Once the ice cream is creamy, add your favorite toppings.
- For a cookies-and-cream version, add crushed Oreo pieces and use the Ninja Creami's appropriate mix-in setting to incorporate them.
- You can also keep it simple with a sprinkle of black sesame seeds or enjoy the sesame ice cream completely on its own.